Our resident photographer, Saron Solomon, gives some hints and tips on how to take the perfect facility photo and improve your website.
Did you know that the digital world has turned us all into photographers? It is now suggested that more than 1 trillion photos were taken in 2018 alone! First impressions count and how you showcase your facilities for hire, is extremely important for gaining new bookings one of the first things that hirers will associate with your venue is your photographs, therefore we have put together the following tips when taking stunning photos of your facilities:
Pre-shoot setup
Prepping the space before the shoot is one of the simplest things you can do to improve your photos. Tidy up beforehand, whether it’s moving cars, chairs, tables or whatever you feel necessary it is also important to turn on all the lights, and open doors, curtains and blinds to allow enough light to illuminate the space.
Equipment to use
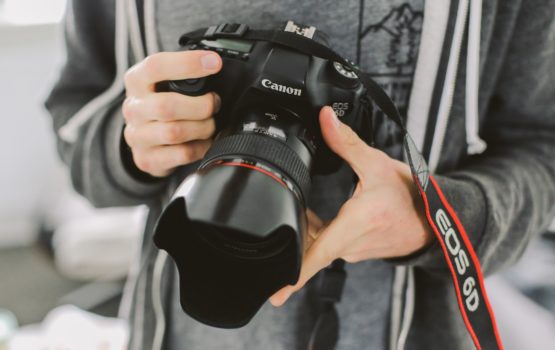
If you are completely inexperienced when it comes to taking photos of your facilities, using the right equipment will give you a great start. Purchasing a DSLR would be ideal (https://amzn.to/3alKrvD) however, most of us will have a powerful tool in our hands already which is, our smart phones. Although smart phones are not ideal for capturing professional images, they can definitely be used if working on a budget.
Shooting from waist height
When taking photos of your facilities, the next essential bit to consider is how to position your camera. The best and simplest way is to crouch down at the corner of the room to take the shot from waist height. Warning: You will be giving your knees and glutes a little workout, but the end result will look a million times better!
In short…
The main goal is to keep images neat and clear, capturing the feel of your facility. In short, keep the following in mind:
We hope this little guide has given you a little direction to capturing better images for your booking websites. For more information, contact me on Saron.solomon@kajima.co.uk or call 01604 677 764.
